If you have short hair, clip-in hair extensions will be your best friend in helping you achieve the perfect length and volume. However, one thing that can be a little tricky is blending the clips into your natural locks, making sure that they aren’t visible and your extensions look just as if you have spent the last ten years growing your hair. But don’t worry, as always, your Regal Envy hair gurus are here to save the day! Take a look at our super-easy guide on how to hide hair extensions in very short hair, including the most common mistakes to avoid.
How To Hide Hair Extensions In Very Short Hair: Top Tips & Mistakes To Avoid
As experts in all things hair extensions, we’re often asked ‘can you put hair extensions in short hair?’ While short hair is more prone to breakages and less adherence, adding length and volume with well-applied extensions is still possible. So, without further ado, let’s take a closer look at the following:
- Best Extensions For Short Hair
- How To Put Clip-In Extensions In Short Hair
- Mistakes To Avoid When Blending Your Extensions
- How To Hide Hair Extensions When Putting Hair Up
- Hair Extensions For Very Short Hair: Before And After
Best Extensions For Short Hair
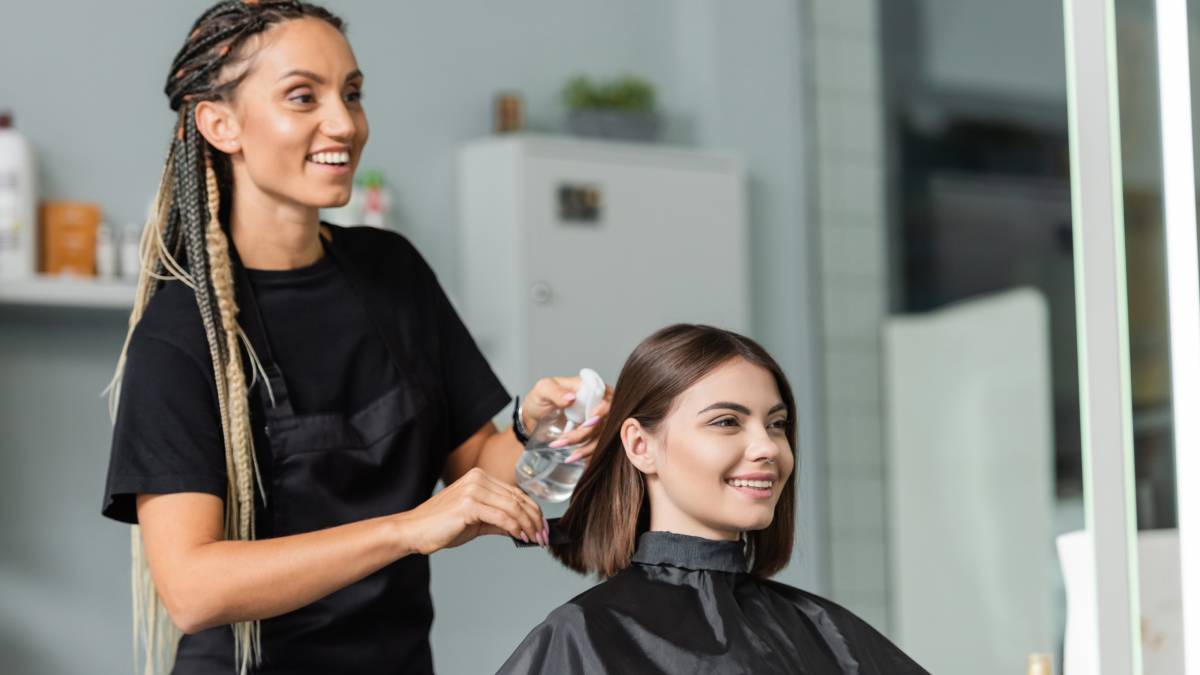
If you’re new to the world of hair extensions, the number of options can be a little overwhelming. From nano-tip to weft, each type of hair extension has its advantages, but for short and thin hair, clip-in extensions are your best bet. They’re easy to use, versatile, and temporary, so they can be easily adjusted as your hair grows out. Additionally, with the right technique, blending clip-in extensions into your natural hair is easy. Learn how to do exactly that with our in-depth guide below.
How To Put Clip-In Extensions In Short Hair
Let’s start from the very beginning with how to fit your clip-in hair extensions. The secret is to ensure that your natural locks are prepped correctly; follow these easy steps, and we promise that your clip-ins will stay secure all day.
STEP 1: Section Your Hair
Begin by sectioning your hair into a top and bottom section; the bottom should be from the nape of your neck to the top of your ear.
Leave the bottom section down and gently twist the remaining top section into a bun onto the top of your head.
STEP 2: Prep Your First Section
Plait the bottom section of hair and tie it with a clear elastic band. The plait doesn’t need to be overly tight but should be securely braided to handle some weight.
Twist the plait around itself to create a bun and secure it with bobby pins; this will help keep the extensions in place.
STEP 4: Fit Your First Weft
Fit your first weft, starting with the middle clip just above your plaited bun. Secure the two side clips behind your ear.
Top tip: Always use your hair extension brush to detangle your wefts before you clip them in to avoid pulling at your natural locks.
STEP 5: Apply Your Remaining Wefts
From here, you can move on to fitting your remaining extensions. Section your hair around one inch upwards from the last and secure your clips in place. Don’t worry about plaiting these sections, but instead, focus on hiding each clip with the next section.
The order in which you fit wefts is based on the number of clips. Any five clip extensions should be used on the widest part of your hair, and then two or three clip wefts can be used towards your crown.
Mistakes To Avoid When Blending Your Extensions
If you are new to the world of hair extensions, then it’s likely that you’re expecting just to pop them in and head off for your day, right? Well, it may take a little more practice to get your technique right, but we promise it’ll be worth the dedication. For those who are finding it a little trickier than expected to perfect their technique, here is where you might be going wrong:
Mistake 1: Clips Are Too Close To The Scalp
Many assume that for their results to look natural, they need to clip their extensions as close to the scalp as possible; however, this isn’t the case, especially with thin hair. Instead, position your clips just a little further down, as this will allow more movement in your extensions, helping create a more natural result. It will also stop any tension on your scalp, which can leave your head feeling tender when you eventually remove your clip-ins.
Mistake 2: Clips Are Too High On The Head
Let’s take a look at, by far, one of the most common mistakes – attempting to blend your wefts when they are clipped too high on the head. If your hair is naturally thin, it is likely that most of it is nearer to the nape of your neck, which means that it will become impossible to hide your clips. Not only this, but your hair will also look choppy rather than blended.
Mistake 3: Clipping Onto Freshly Washed Hair
Nothing is better than freshly washed hair, but when you’re trying to secure clip-in hair extensions, you’re likely to have a battle. Weft clips can slip, especially on thinner, finer hair, so you need a little texture to allow them to grip. If your hair is squeaky clean, you will need to add a few more steps to your routine to keep your extensions in place. These include the tips mentioned above – adding a little hairspray and teasing the hair. When you reach second or third-day hair, when oil and product have built up a little, you’ll find the clips grip far easier.
Mistake 4: Attempting To Use Too Many Wefts
Yes, as much as we hate to say it, there is such a thing as too much hair! If you have recently treated yourself to new clip-in extensions, it can be tempting to use every last weft but don’t feel the pressure to wear as many wefts as possible all at once. Some people may only need two wefts, and others may wear four; it’s all about what looks and feels best for you. If you have any questions about how many wefts to buy, please do not hesitate to ask our Regal Envy hair gurus for advice!

How To Hide Hair Extensions When Putting Hair Up
At Regal Envy, we understand the sheer frustration you feel when you have your long, luscious hair extensions and want to put them into a celebrity-style ponytail, but you cannot seem to get it seamless! So we have gathered our top three tips on how to hide hair extensions when putting your hair up; these include:
1: Start with dirty hair
Working with hair that’s a bit less than fresh can be a game-changer when it comes to styling hair extensions; it allows you to have advanced grip and texture instead of having a sleek, greasy look that does not do well at hiding extensions.
For those who prefer maintaining clean hair with our shampoo for hair extensions and want to use a substitute instead of not washing your hair for a few days, then we recommend using a texturising spray, hairspray or even dry shampoo.
These alternatives offer the same benefits of enhanced grip and texture, allowing you to expertly style your extensions without compromising on your desired look.
2: Strategic placement
As you gather your hair up into an up-do with our hair extension brush, pay close attention to smoothing and adjusting the extensions to align with your natural hair.
This meticulous step is crucial in achieving that seamless blend we’re aiming for. When pinning and securing your up-do, incorporate the hair extensions into the style by positioning them beneath the natural hair, which will help to camouflage the extensions and maintain a natural look.
It’s important to maintain a gentle touch throughout; refrain from pulling your hair too tightly. Although a tight hold might feel more secure, it can inadvertently reveal the extensions, leading to an uneven and less polished result.
3: Finishing touches
When you have created your up-do and are happy with the overall look, fully secure all the hair and ensure no attachments are uncovered by using bobby pins, hairpins and clear hair ties! We recommend gently tugging on some sections of your hair to add natural looseness and create a more relaxed look.
A finishing touch of hairspray is essential to set the hairstyle, providing both lasting hold and ensuring that your extensions remain discreetly concealed from morning till night.
@leilapeacock_ A half up bun that dosnt show my extensions! Weft from @imsoprettyofficial 🎀 use the code LEILA10 for money off your hair🌸✨🍒 @Color Wow UK #hair #hairstyles #hairtutorial #hairstylesforextensions #hairextensions #blondehair #blondehairstyles #blondehairextensions ♬ original sound – Remix Bangers
Hair Extensions For Very Short Hair: Before And After
Still not quite convinced by the transformative power of extensions on very short hair? We’ve collated some of our favourite before and after pics from the Lacy Locks hair salon in Milton Keynes to prove what a difference the right hair extensions can make. They’ve used crown volumisers like our silk closures to add thickness and length. Check out these transformations below:
Don’t Give Up On Voluminous Locks!
There is nothing more exciting than your brand new clip-in hair extensions arriving at your doorstep ready to be fitted! While the prospect of installing them for the first time can be daunting, with our handy guide, you will perfect your seamless extension-fitting routine in no time. Blending your extensions with shorter or thinner hair is all about patience; believe us when we say that practice really does make perfect. By experimenting with a few different techniques before heading out with your new luscious locks for the first time, you will be able to perfect your methods and never look back!
Needing Extra Hair Inspiration?
Sign up to our newsletter for the best hair tips and tricks!